


🔥4 in 1 Router Milling Groove Bracket Advantages
🔥4 in 1 Router Milling Groove Bracket Advantages
Couldn't load pickup availability
- FREE International Delivery
When Will My Order Arrive?
When Will My Order Arrive?
Estimated delivery times:
🇺🇸 United States: 6–12 business days
🇬🇧 United Kingdom: 6–13 business days
🇦🇺 Australia: 7–14 business days
🇨🇦 Canada: 7–15 business days
🌍 Rest of World: 10–20 business days
Refund, Return, Exchange, And Cancellation Info
Refund, Return, Exchange, And Cancellation Info
💫 30-Day Returns & Refunds
Enjoy a hassle-free return process at MerryWonders.com.
🛑 Cancellation Policy
Changed your mind? You can cancel within 24 hours of placing your order for a full refund.
📧 How to Cancel: Email us at merrywonders@proton.me for quick assistance.
🔁 Returns & Exchanges
Start your return or exchange anytime through our Self-Serve Return Section on our website.
⚙️ Processing Time
All return and cancellation requests are processed within 1–3 business days — always fee-free.
💳 Refund Timing
Refunds typically appear on your original payment method within 3–7 business days after processing.
💬 Need Help?
We’re here for you!
Contact us anytime at merrywonders@proton.me for friendly, fast support.

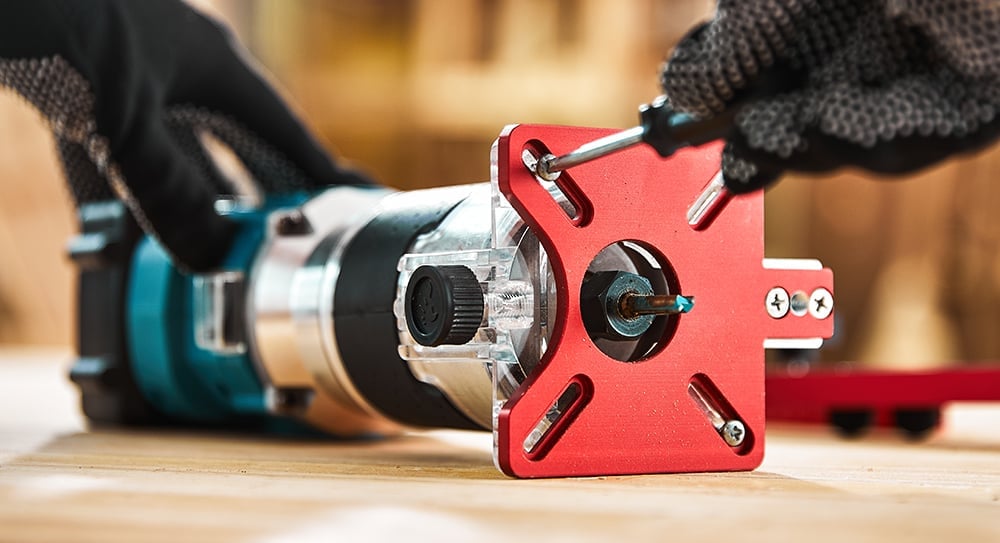
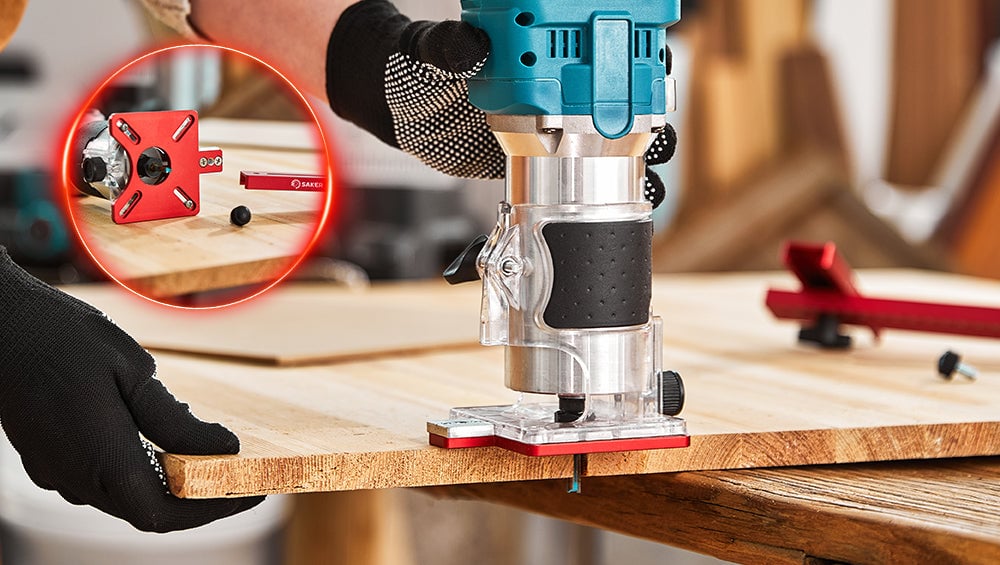
Experience unmatched durability with our upgraded thickened aluminum alloy material—engineered for ultimate strength and resilience.
The base can be disassembled and used as the base of the trimming machine.
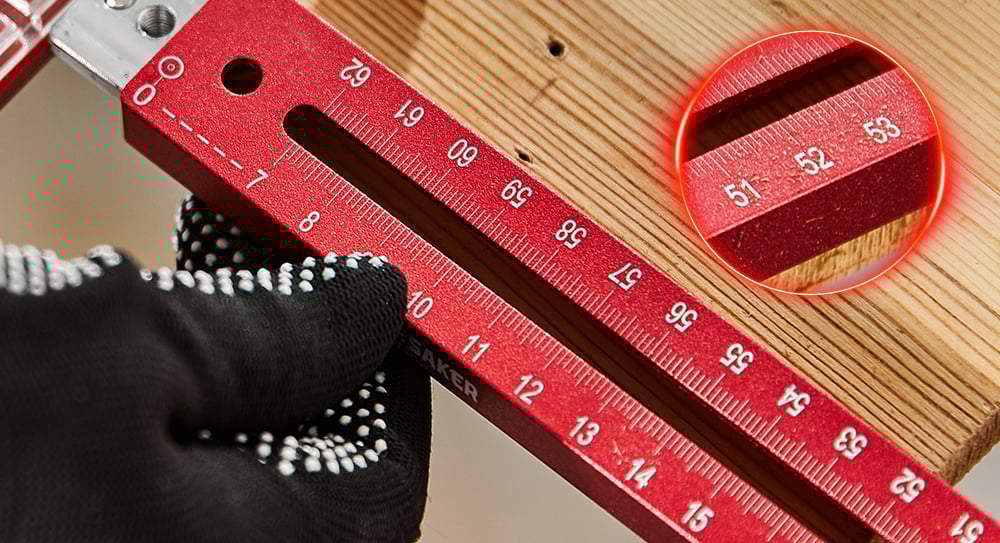
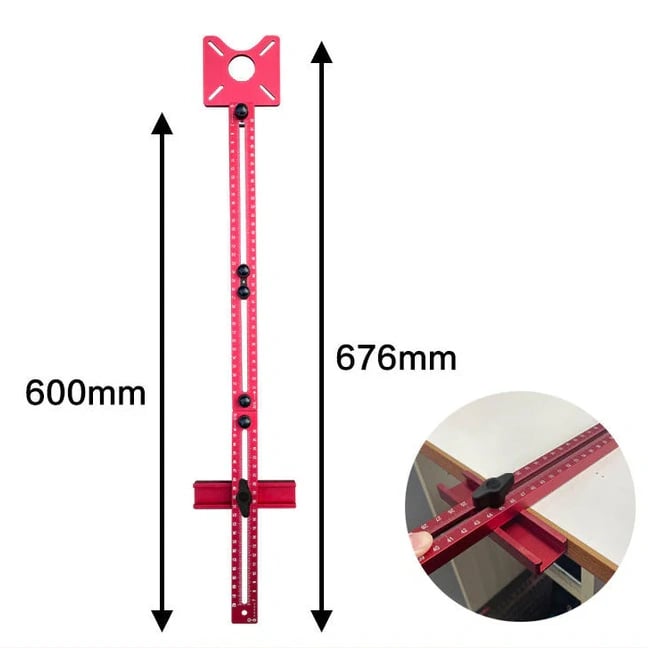
Our clear scale features a laser ruler that ensures every measurement is accurately reflected. Enjoy effortless accuracy in your projects and make every detail count with unparalleled clarity.
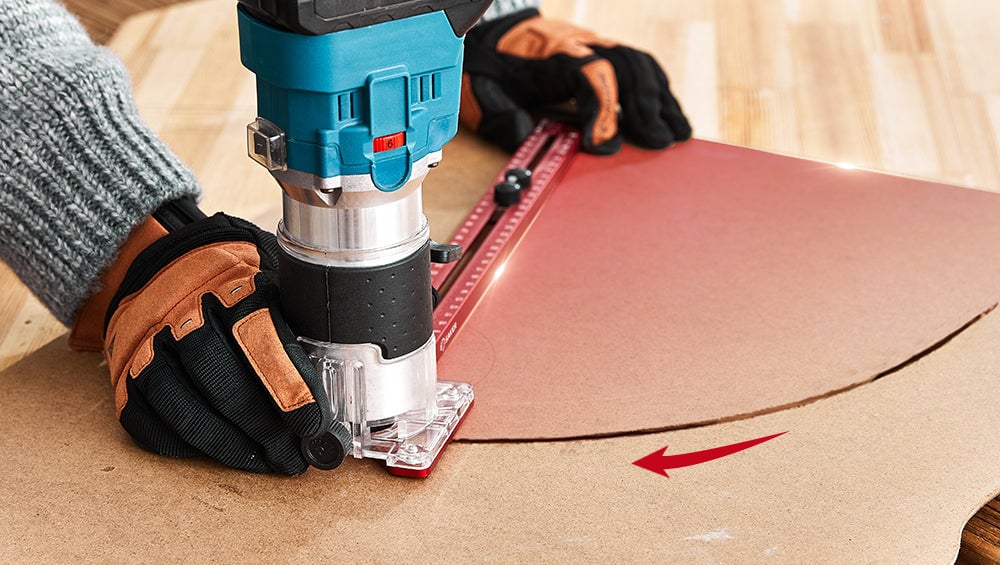
MILLING CIRCLE
1. Secure the trimming machine to the base by using screws.
2. Determine the desired radius length, slide the nail hole in the middle of the radius slider to the scale, and tighten the knobs on both sides.
3. Use 3mm nails to fix the center of circle and mill the circle.
4. Then you can mill out a full circle or half arc.
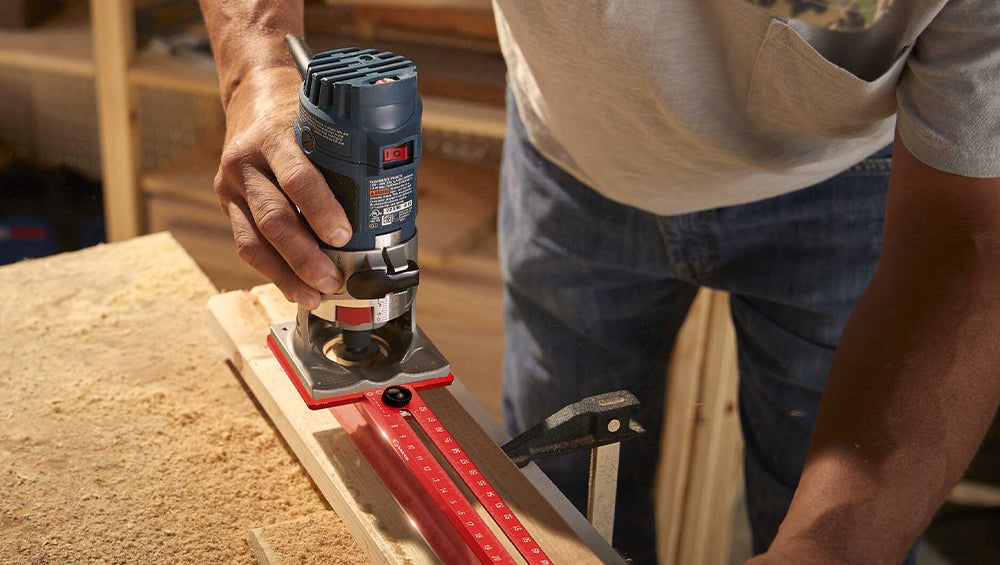
GROOVING
1. Loosen the radius slider knob, slide it to the far left or far right and tighten the knob on both sides.
2. Place the black positioning block in the middle of the guiding rule.
3. Stuck the ruler body in the groove of the guiding rule, and tighten the knob through the ruler body and the black positioning block at the bottom to secure.
4. Stick the guiding rule closely to the side of the board, and then slide the bracket and the trimming machine in parallel to make smooth grooving.
TRIMMER BASE FUNCTION
Loosen the knob near the base to get a detachable router base.
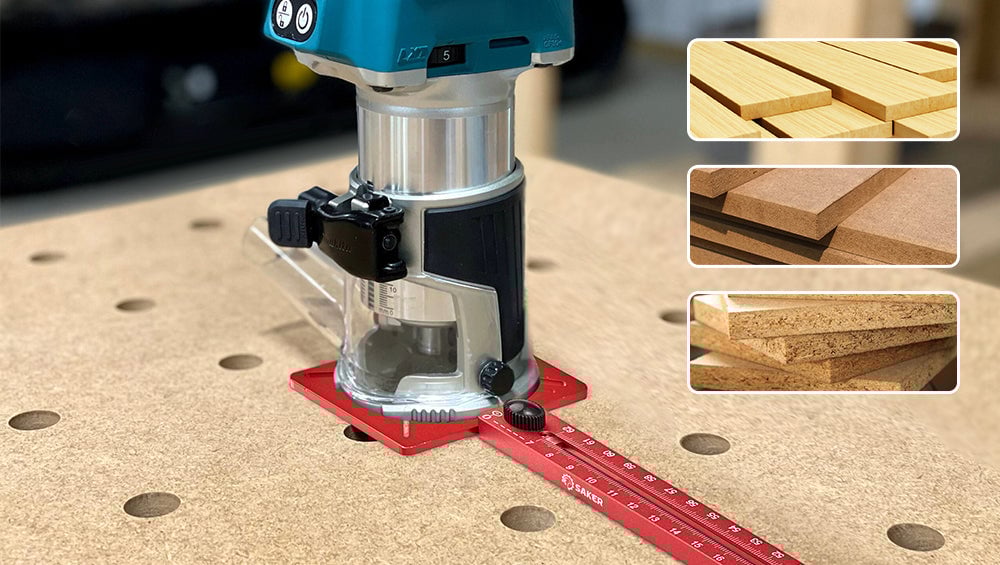
Perfect for a range of board materials—our design adapts seamlessly to various surfaces, offering versatile performance and reliable results for all your projects.